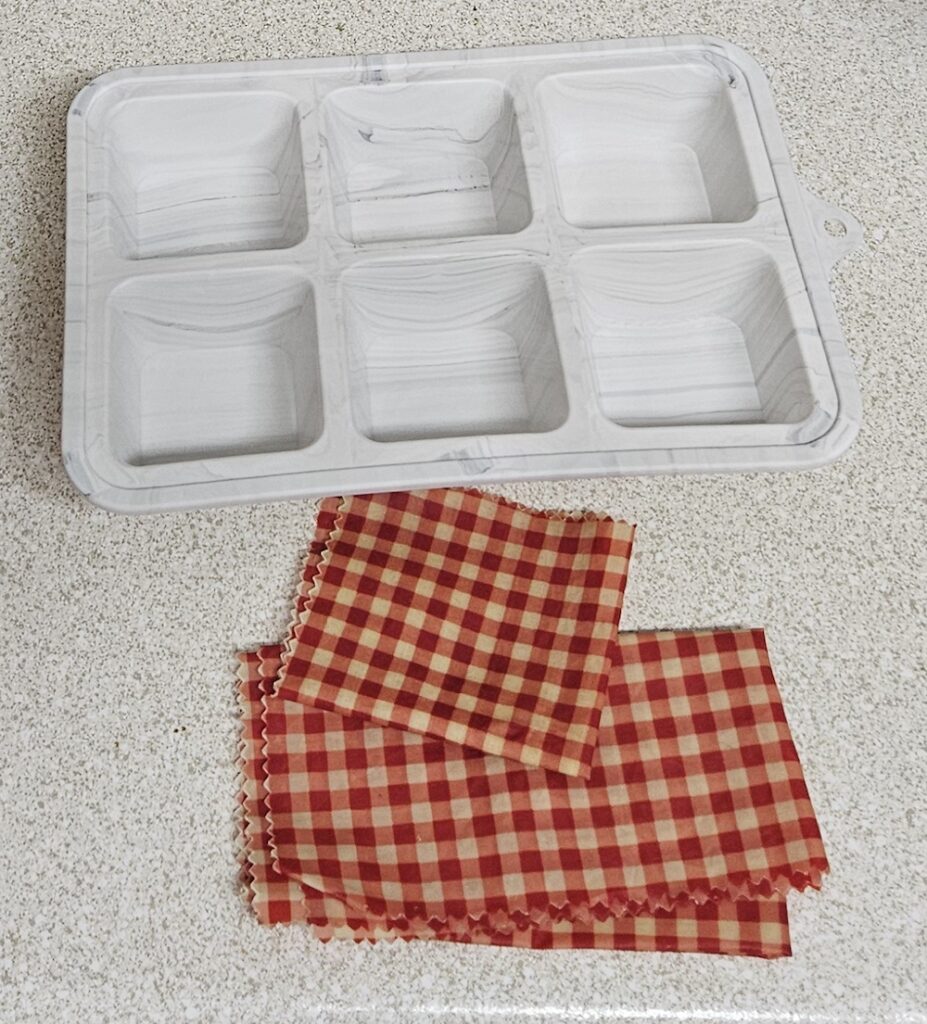
I haven’t made rice balls in a while but they will definitely be added to my dinner rota after making them this way. Previously, I would make rice balls using plastic wrap to shape and store them. For this month’s plastic-free challenge, I wanted to try something different, so I used a silicone mold for the shaping. Not only did that work really well but they were actually easier to make.
The other pleasant surprise is that it didn’t take as long to make them as I remembered. From turning on the stove for cooking the rice to finish, the process took 45 minutes! Granted, that doesn’t include the cooling time to get them all wrapped up in their nori sheets. But the wrapping itself only took about 5 minutes. This recipe makes 8 rice balls, so not only did I have a good amount for dinner but I had plenty for my lunches throughout the week.
Plastic-Free lunch option
After last month’s plastic-free bread challenge, I’m very glad to have found a good gluten-free lunch option. Turns out, there aren’t a lot of plastic-free options with gluten-free breads. With these rice balls however, the rice can be purchased at a bulk food store and the fillings have plastic-free or reduced plastic options. Plus they’re a lot easier to make than the bread.
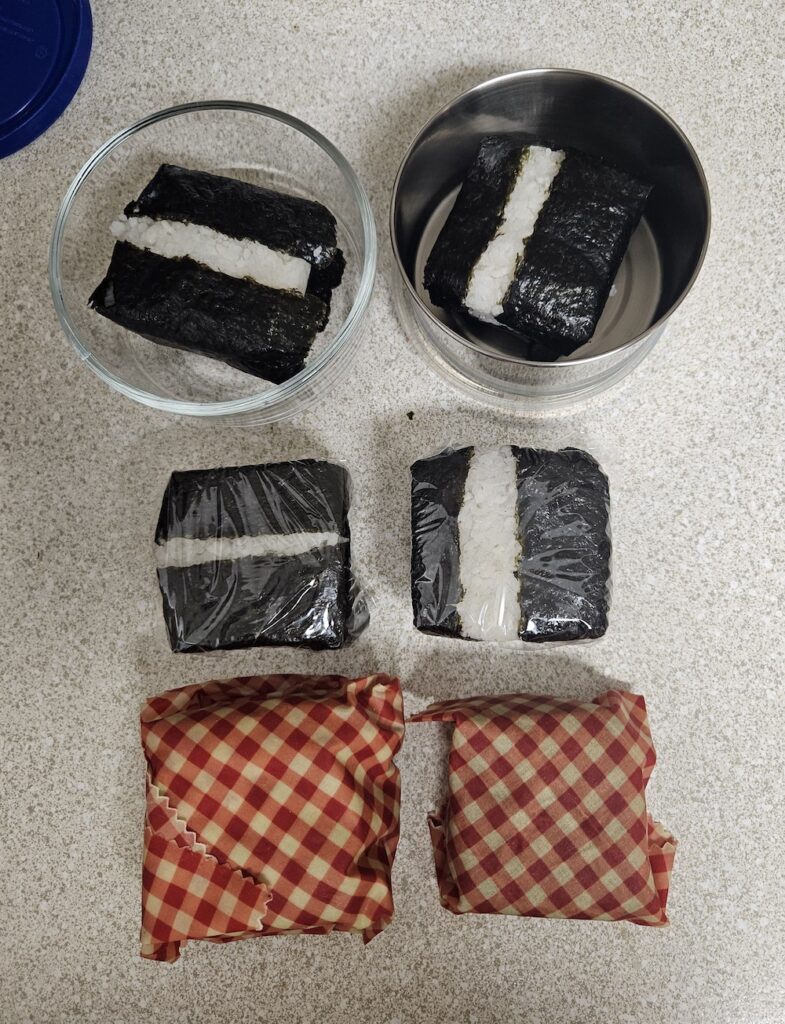
Because I’m reducing my single-use plastics, specifically plastic wrap this month, I wanted to see how well the alternatives worked for rice balls. In this case, using a silicone mold to shape the rice balls. Then using beeswax wraps and glass/metal containers to store them in the fridge. I also stored some in plastic wrap for comparison. There are actual rice ball (onigiri) molds but I wanted to use what I already had on hand.

What was the best storage option for rice balls
I learned that rice balls don’t really store well for more than 2 or 3 days, regardless of the method. I stored them in beeswax wrap, plastic wrap, and glass/metal containers. By the second day, all of them were still good with no difference. On the third day, the beeswax wrap and glass/metal container rice balls were a bit drier than the one in plastic wrap. By the fourth day, they were all getting dry. So the plastic wrap alternatives worked just as well for storing rice balls for up to 2 days.
Plastic Free Rice Balls
Equipment
- 1 silicone mold with about 2-3/4" squares (can also use a silicon muffin tin, the rice balls will just be smaller)
- 1 pan with lid
Ingredients
- 1 1/2 cup sushi rice
- 1/2 tsp salt
- 1 serving beef or chicken or tuna salad
- 4 sheets nori sushi sheets
- 3 cups water
Instructions
- Rinse the rice and add to the pot with water and salt.
- Heat rice to boiling.
- Once boiling, cover rice with lid and turn stove temp to low.
- While rice cooks, prepare the filling. (I used the beef salad in the pics).
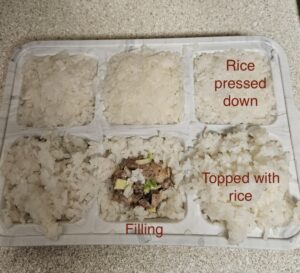
- When rice is done cooking (about 30 minutes) loosely fill the silicone mold and let rice cool a few minutes.
- Wet your hands with water to help keep the rice from sticking to them. Press the rice down into the mold forming a well/cup in the center of each one.
- Spoon the filling into the rice "cups" you just made leaving a little room at the top.
- Top off the filled rice "cup" with more rice, about a 1/4 or 1/3 cups worth.

- Wet your hands again with water and press the rice till it is just above the top of the mold edge.
- Let rice balls cool before turning them out of the mold.
- When you turn the rice balls out of the mold, they should all hold together. If not, you will need to put them back into the mold and re-press them.
- Use half a sheet of nori sushi wrap to fold around the rice ball.
- Eat warm or store for later using your storage method of choice.


