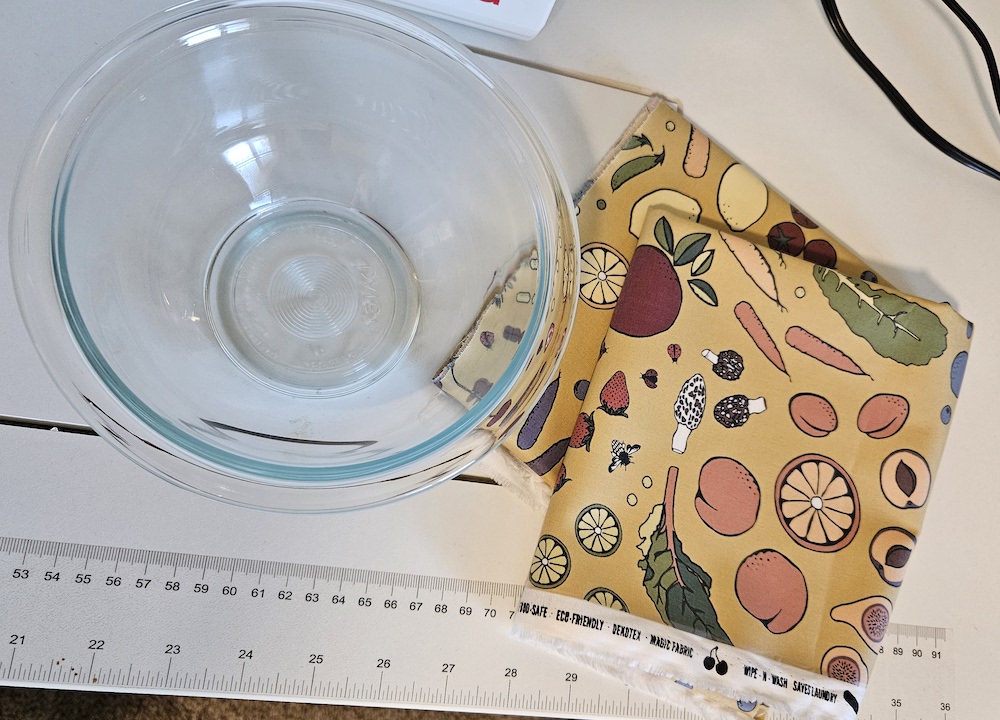
I’m excited to try out my new SplashFabric to make bowl covers. This month’s plastic-free challenge is about plastic wrap alternatives and bowl covers are one of my favorite replacements. Bowl covers are easy to clean and use without being as fiddly as beeswax wraps. Depending on how they’re made, bowl covers can be washed in the washing machine. However, most of the time you can just clean them by hand. If they have a water-resistant layer, you just wipe the bowl cover with soap and water and let it air dry.

Most of the patterns I’ve come across for making bowl covers are double layered and use cotton fabric for both layers. But having a laminated fabric makes clean up even easier. I’ve never worked with a laminated fabric before so I was really happy when I found the fabric company SplashFabric. (I have no affiliation with them, I just really like the fabric). Their laminated fabric is water-resistant while being soft, pliable, machine washable, and food-safe. It’s also considered eco-friendly because they use water-based polyurethane for the laminated layer.
Which tutorial to use…
I’ve been reviewing several tutorial videos on how to make bowl covers, and I decided to go with the one that specifically uses the Splashfabric. For one, it’s nice to have a tutorial that’s geared to the materials you’re using. And two, it was the easiest looking out of all the tutorials. For this pattern you only use one layer of fabric and sew the elastic straight onto the fabric without making a casing. No hemming required either because the laminated cotton material doesn’t fray.

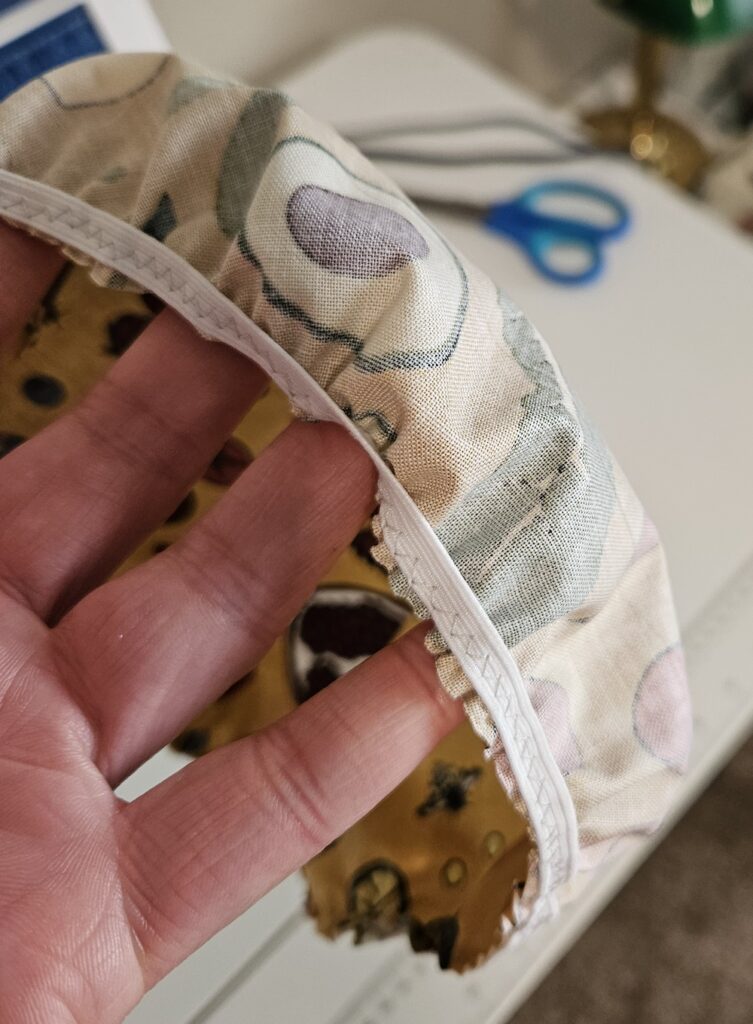
The only downside of this pattern is that the bowl covers look inside out. The right side of the fabric is the laminated side. But for ease of cleaning you want the laminated side to be on the inside, the food contact side. Which means the ‘wrong’ side of the fabric is now on the outside. You could use them the other way but any food that gets on them might not clean up as well.
Notes about making the bowl cover
Since this isn’t my pattern I won’t be writing out the full instructions but I did want to mention a few things after trying it out. Here are my notes after making the bowl covers using the SewVeryEasy tutorial video.
- I see why she uses a little cardboard template to measure around the bowl. When I made mine, I traced around the bowl then made another circle around it that was 1.5″ wider. I forgot that the non-laminated side would be on the outside so now the trace circle is visible. Hopefully the pencil marks will come out in the wash. If I had used the template like she suggested, I wouldn’t have needed to make 2 circles. Just the one outer circle.
- Sewing in a circle while keeping tension on the elastic definitely requires some practice.
- Even as a beginner sewer, this project took all of 15-20 minutes. It was a very good beginner project!
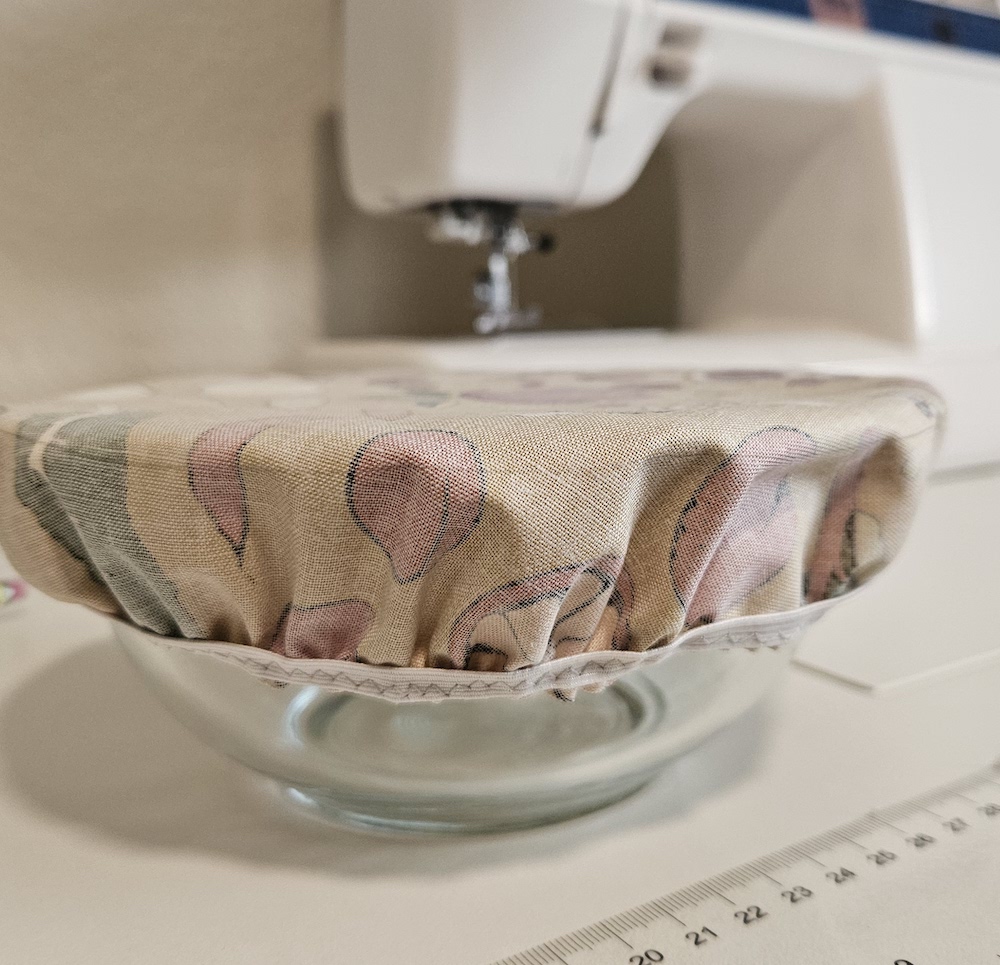
As you can see, my first attempt at making the bowl cover came out ok. The elastic needs to be a bit tighter but the cover is completely usable. It will just be a matter of maintaining proper tension on the elastic while sewing and that will take more practice.

I also plan to try some of the other bowl cover patterns that use double layers. It will require more steps, but I want to see how well the laminated fabric works with a second layer. While I like the simplicity of this pattern, and the inside-out bowl covers look fine, it would be nice to have the full decorative pattern on the outside.
I’ll let you know how it goes!

