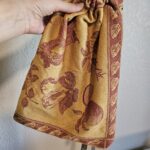
The focus this month is to cut out single-use plastic with breads and baked goods. One of the ways to do this is by making your own bread. The other way, is to buy from local bakeries using your own cloth bread bag.
Either way, a bread bag is a handy thing to have, especially if you’re keeping your bread at room temperature. It’s recommended to store bread in linen or cotton bags. You can also store bread in a breadbox/large tin if you have one. I’m still a beginner when it comes to sewing, but I want to do more to up-cycle and reuse fabrics. So I’m always on the lookout for simple projects.
What type of fabric to use for bread
From what I’ve seen about making these bread bags, the best material is linen and/or cotton. Both work well but linen is considered the better choice. Due to linen being more breathable, durable, and wicking away moisture more efficiently than cotton. The downside of linen is that it is more expensive.
The bread bag videos I watched, recommended using old napkins or tea towels for making the bread bags. As this is the best way to find cheap linen fabric with the edges already hemmed/serged. I’ve been looking for cloth napkins and tea towels at the local thrift stores. So far, all of them are cotton. So it looks like I’ll be making cotton bread bags. Good thing cotton is a close second to the linen.
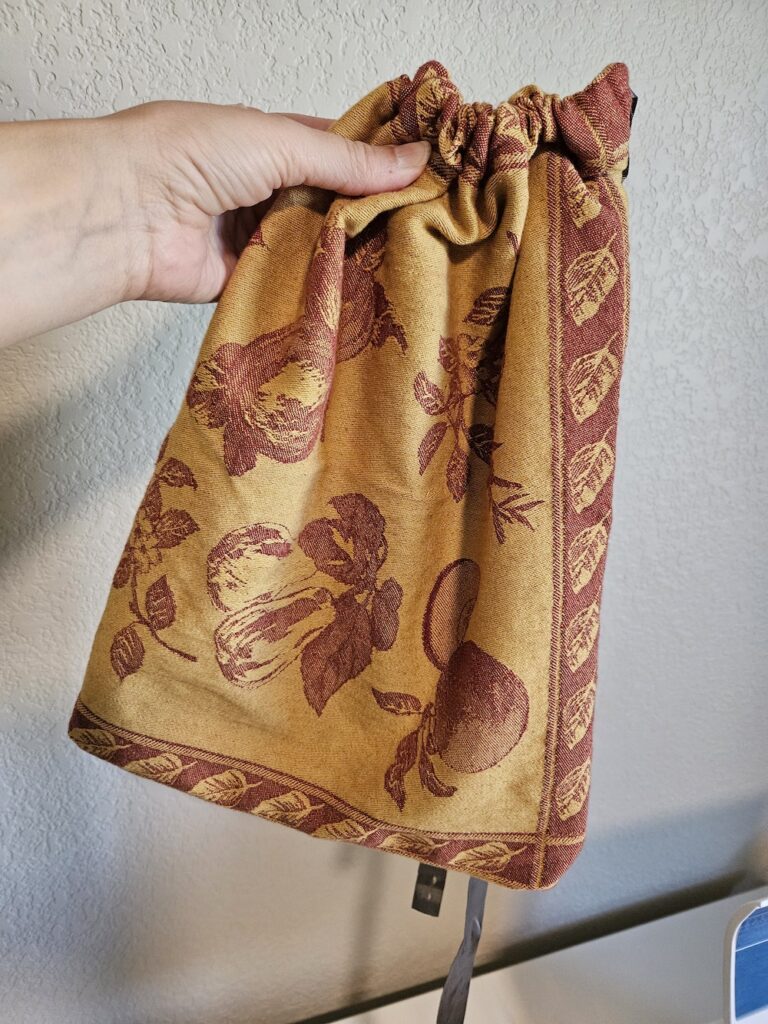
Looking at the “anatomy” of one of the bread bags I bought, I see why it’s recommended to use a tea towel for this project. The inside edges of the store-bought bread bag have been serged to keep them tidy and from fraying. Whereas, the edges of the tea towel have already been hemmed. Which is nice because I don’t have to do any additional steps. I’ve only ever done straight stitches with my sewing machine. So it looks like I won’t be having to learn how to use the serger just yet.
Instructions for how to make a bread bag from a tea towel
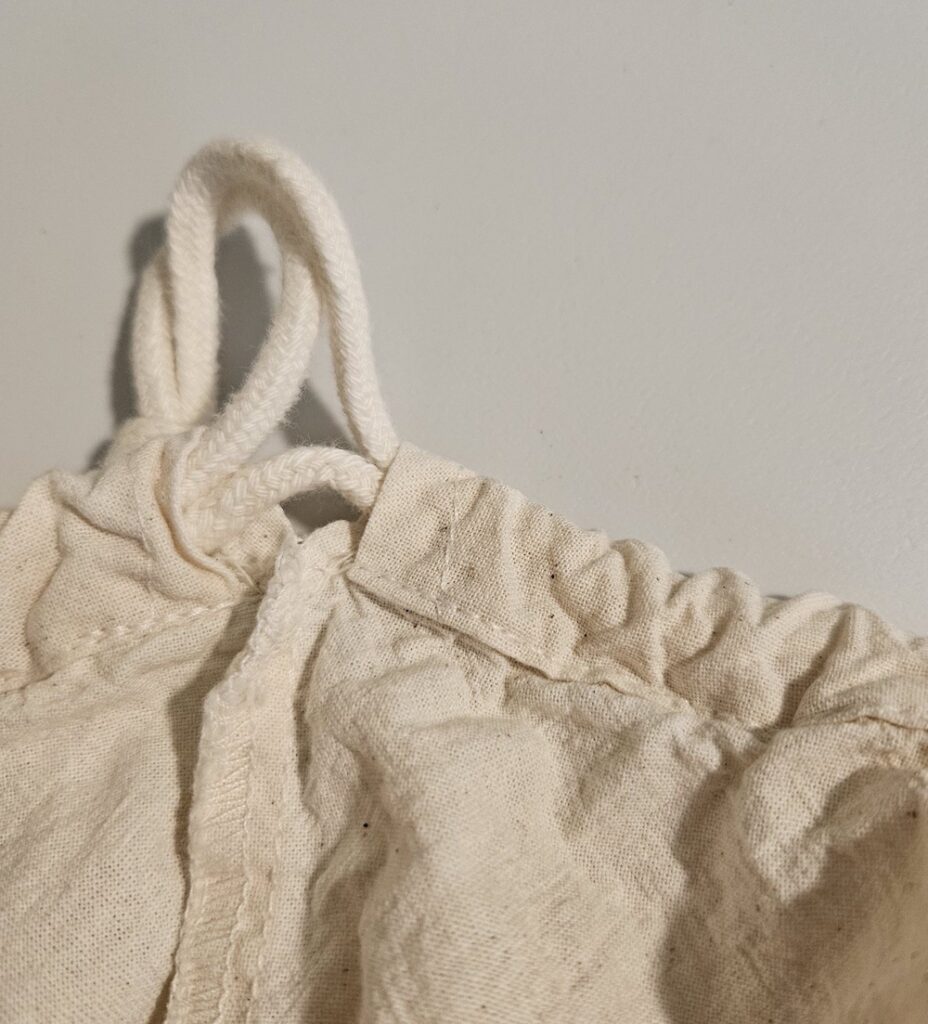
I lucked out and found dish/tea towels with a great design for these bags at the thrift store! As I mentioned earlier, I’m still pretty new to sewing so I’ve just started making these bread bags. As far as I can tell they’ve been turning out pretty good. I won’t be posting any instructional videos for a while so I’ve tried to take lots of photos.
At the thrift stores, I’ve been looking for tea towels and napkins in the sizes that I need. So I haven’t had to do much with measuring or cutting for these bags. If you can find tea towels/napkins in the sizes you want, it makes this a very simple pattern.
Tea Towel Bread Bag
Equipment
- 1 Pair of scissors
- 1 Sewing machine
- 1 large safety pin
Materials
- 1 Tea Towel approximately 18" x 25"
- 1 Ribbon or sturdy string at least 34"
Instructions
- Cut off the tag of your tea towel if there is one.
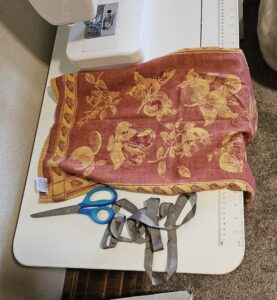
- Fold the towel in half longways. Wrong side facing out. (The folds of the hem are on the outside and the short sides are lined up together).
- Pin one short side and the long side. Leave about 2" at the top of the long side for the fold of the casing.
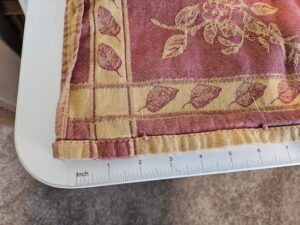
- Using the straight stitch on the sewing machine, sew the bottom and edge of the fabric along the hem. Be sure to secure the stitches at the beginning. Stop at the 2" mark on the side edge and secure stitches.
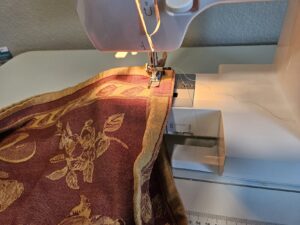
- It's easier to sew the ribbon casing if you take the extension table off your sewing machine for this part.
- Fold the 2" of the top fabric in half (so you have a 1" casing above where you stopped sewing on the side).
- Sew along bottom of fold, securing the ends of the stitches, to create your ribbon casing.
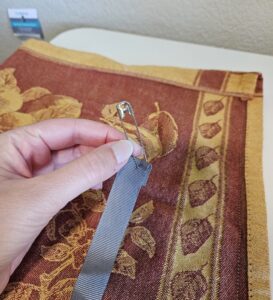
- Pull ribbon through the casing by attaching the safety pin to one end of the ribbon and then 'threading' it through the casing.
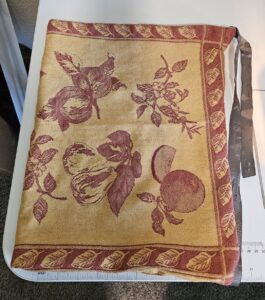
- Trim any long threads and turn out bag so it is right side and you're done!
Notes
If anything is unclear in the instructions, please let me know in the comments.

